I ❤️ Macro.
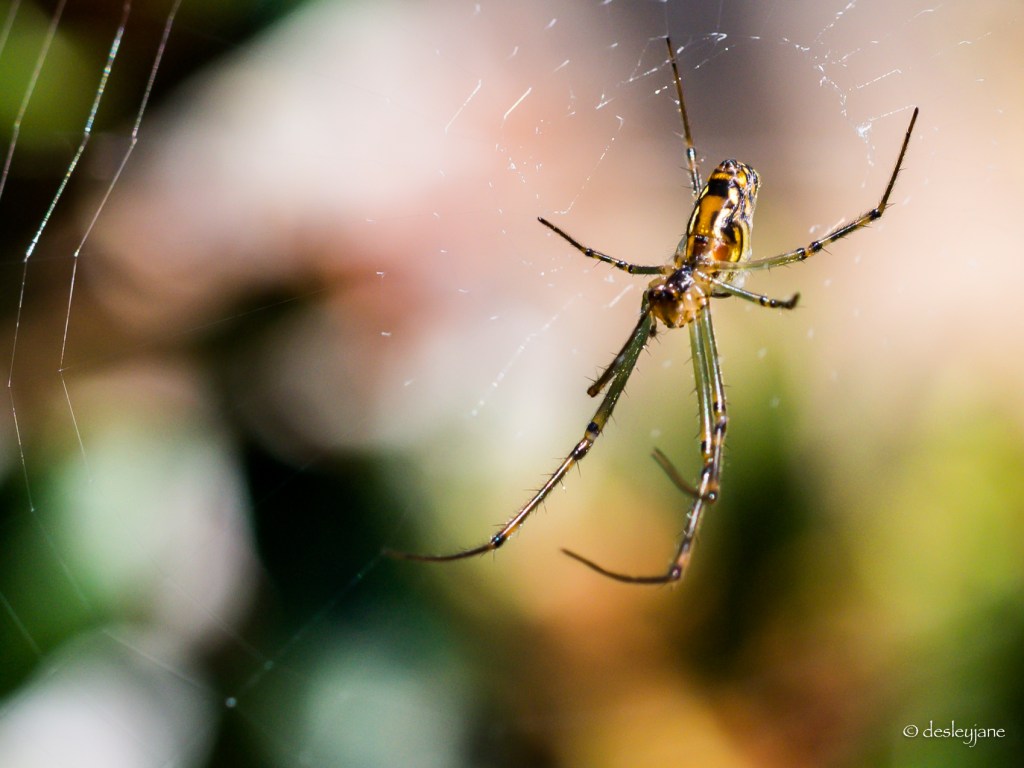
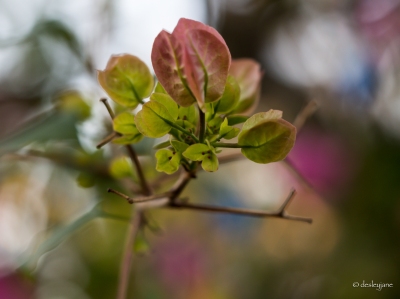
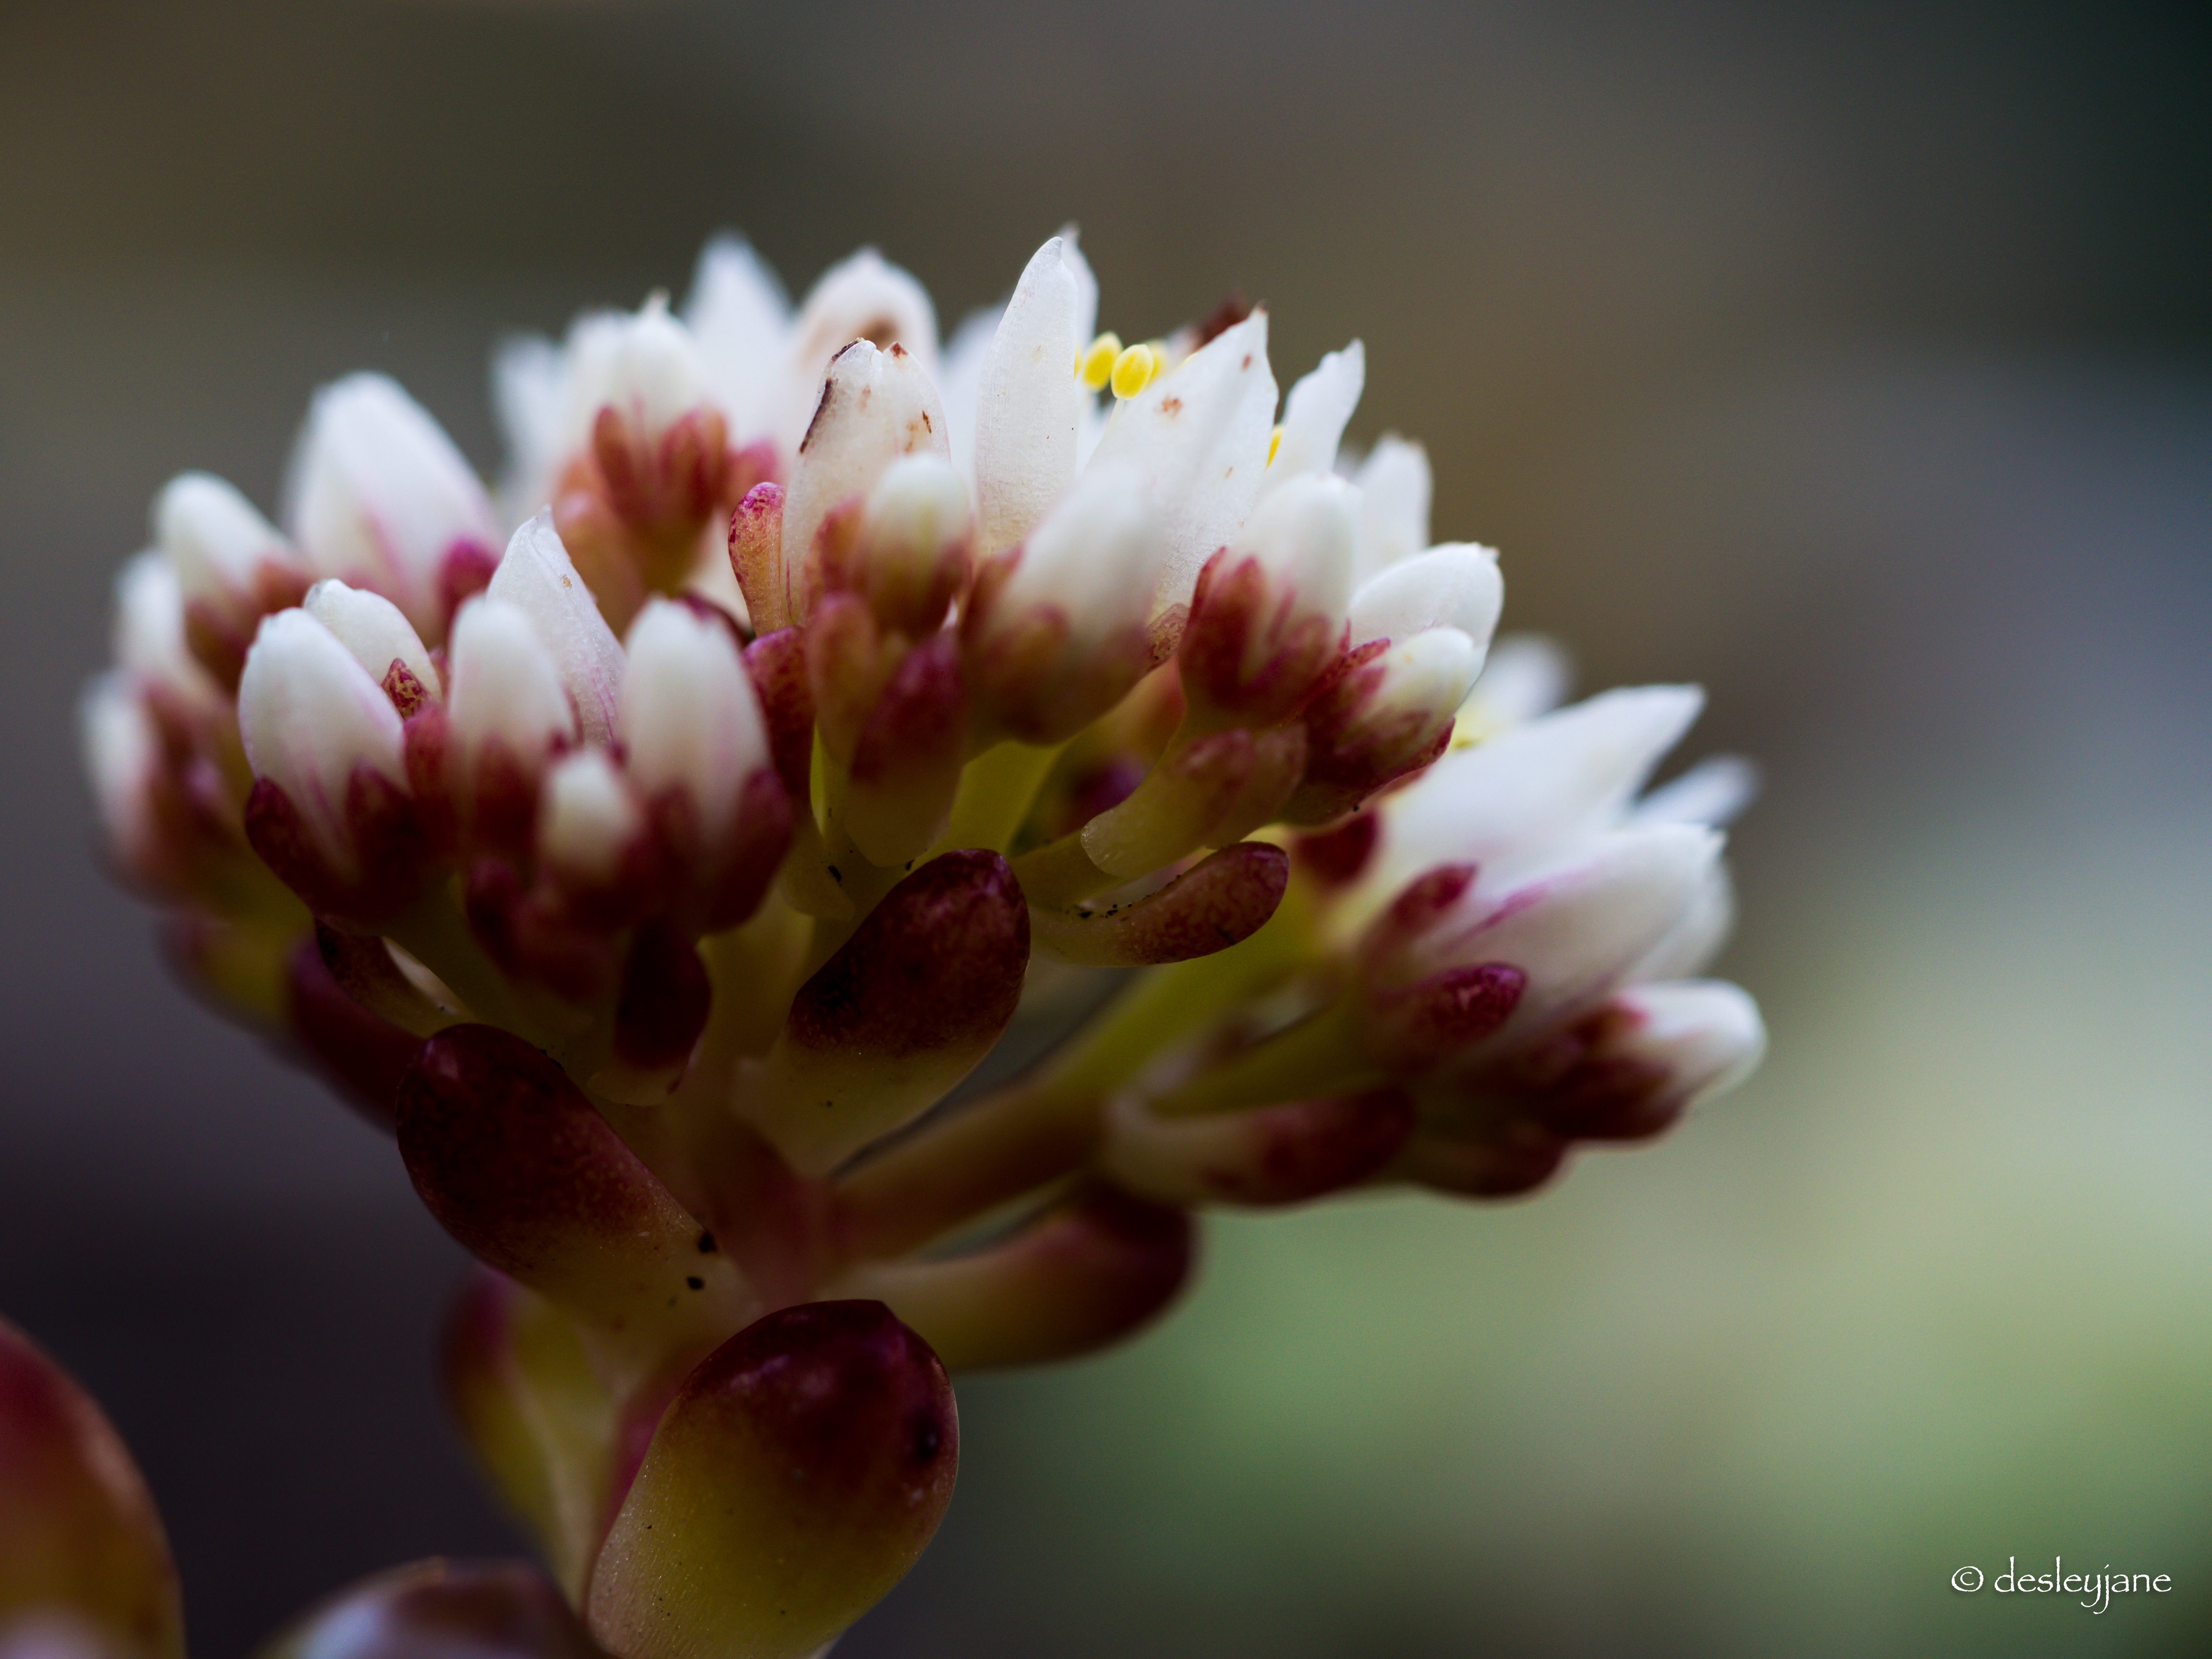
Most of you know that I love macro photography. True macro photography is the art of photographing a subject so that the resulting image is larger than life size – it magnifies the subject.
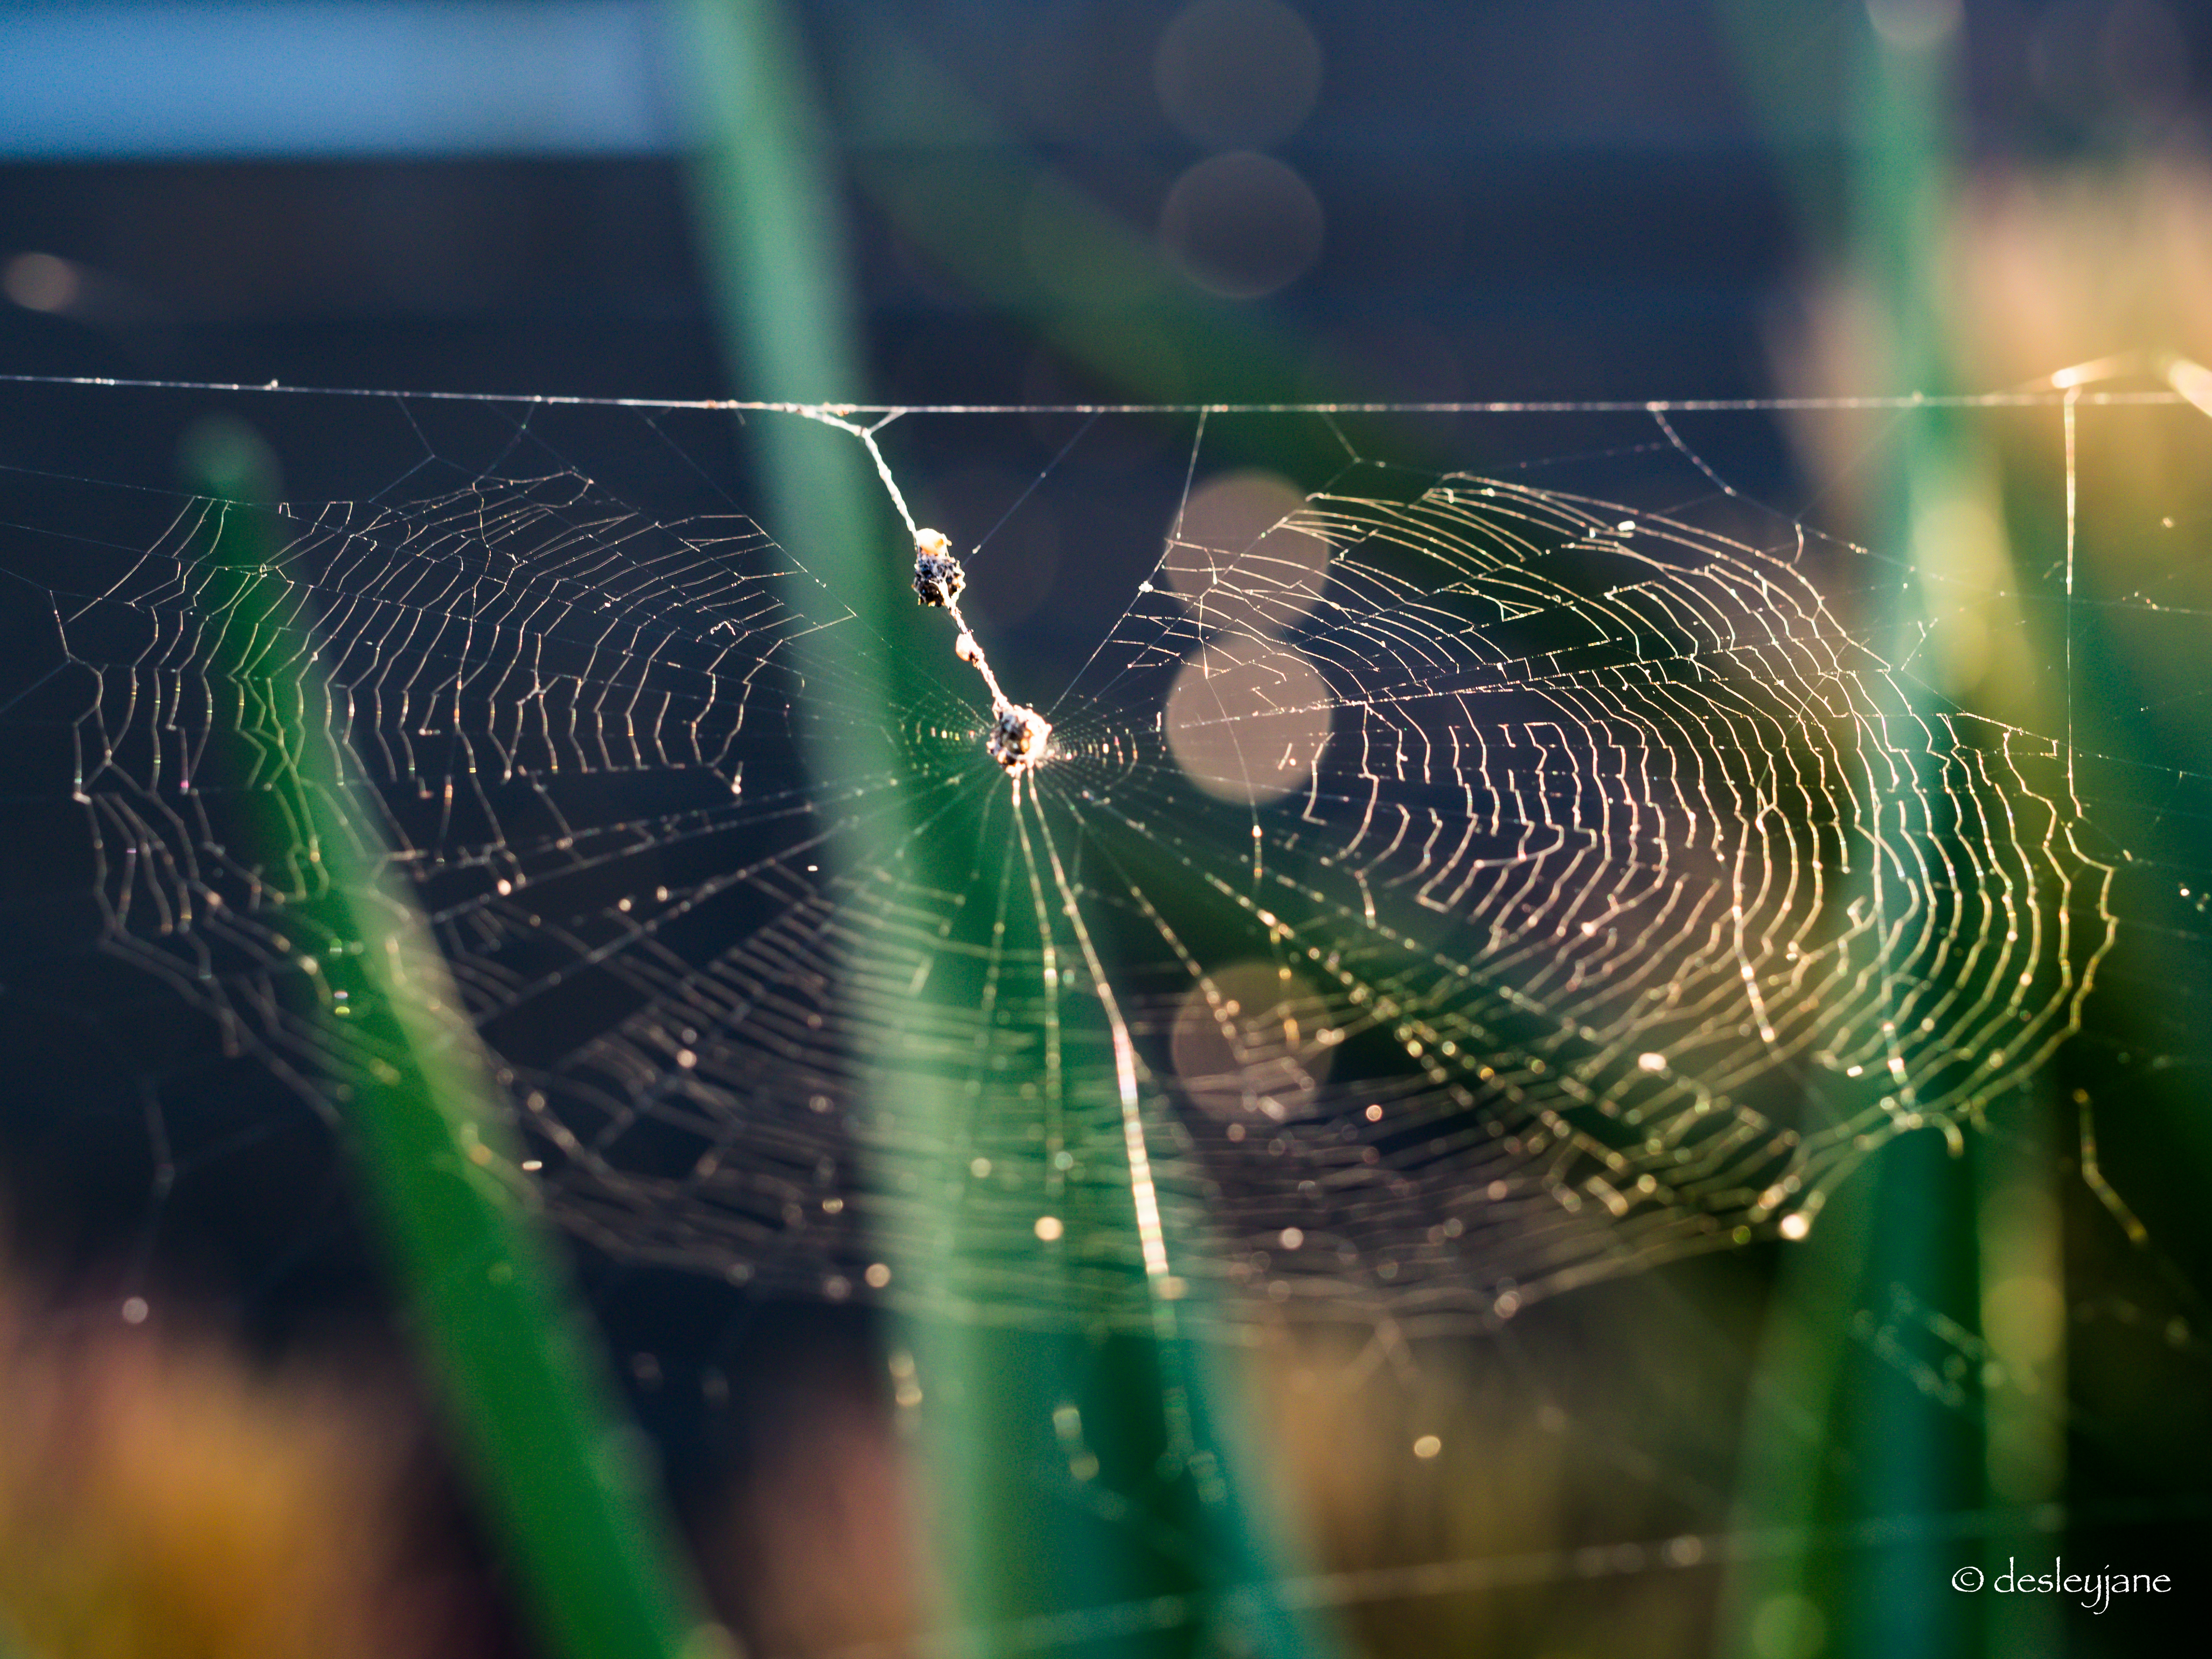
This spider is approximately 5mm long which google tells me is 13/64ths of an inch. In the photo, it looks like a monster, but actually it’s a tiny little guy. I just went out to try to get a photo of my fingers next to the spider, but I’m still a little wary of spiders after THE INCIDENT (check it out for a funny story) and also I bumped the chair which he had attached his web to, so I wasn’t able to get that shot.
The macro shot was taken with my Olympus OMD EM5 with my macro lens, which is a 60mm (120mm equivalent lens). Wildly windy, the web was moving back and forth in the breeze and the spider was at about waist height, so taking this shot handheld was a little tricky.
Some tips to get good macro shots:
- If you can, use a tripod. Especially for photographing critters or flowers outdoors. You will have enough to deal with if the wind is moving your subject, so taking your own handheld movements out of the equation is ideal.

- Have your lens parallel to the subject. If your camera lens is at an angle, then you will have only some parts of the subject in focus. If you can get your camera parallel to your subject, then all parts of the subject that are in the same plane (or at the same distance from the lens) will all be in focus. And everything else will be nice and blurred.
- More on the focus – because you usually have to get quite close to the subject to get a good macro shot, it can be useful to use a smaller aperture (larger f number). This allows more of the subject to be in focus. We usually use wide apertures (small f numbers) to get that lovely blurry backgrounds, or shallow depth of field. This is fabulous and one of my favourite photography effects, but for macro shots, you will get this at higher aperture numbers just by being closer to your subject. However, as you increase the aperture number, you are decreasing the amount of light that can get to the sensor, so your photo will be darker. In aperture mode, your camera will compensate for this by slowing down the shutter speed and so a tripod will be even more important to combat camera shake during a long exposure. You should try this if you are keen on macro – get in close and put your camera in aperture mode and take some shots at f/2.4 or f/4 (wide aperture = much more light getting in to the sensor) and then at f/11 or f/18 (narrow aperture = less light). You will see the difference in the backgrounds.
- Macro Mode on your camera – so you probably know that the little icon of a flower on your camera is the button for macro photography. What does this do? Basically, it tells your camera that you want to do a close up. Usually, in auto settings, your camera will assume that you are standing back from your subject. If you try to get up close without hitting the macro button, your camera will usually struggle to find a focus point and you usually can’t take the shot. To fix this, you can shoot with manual focus. Or you can hit the macro button and this tells the camera that it needs to work with a shorter distance to get the focus point.
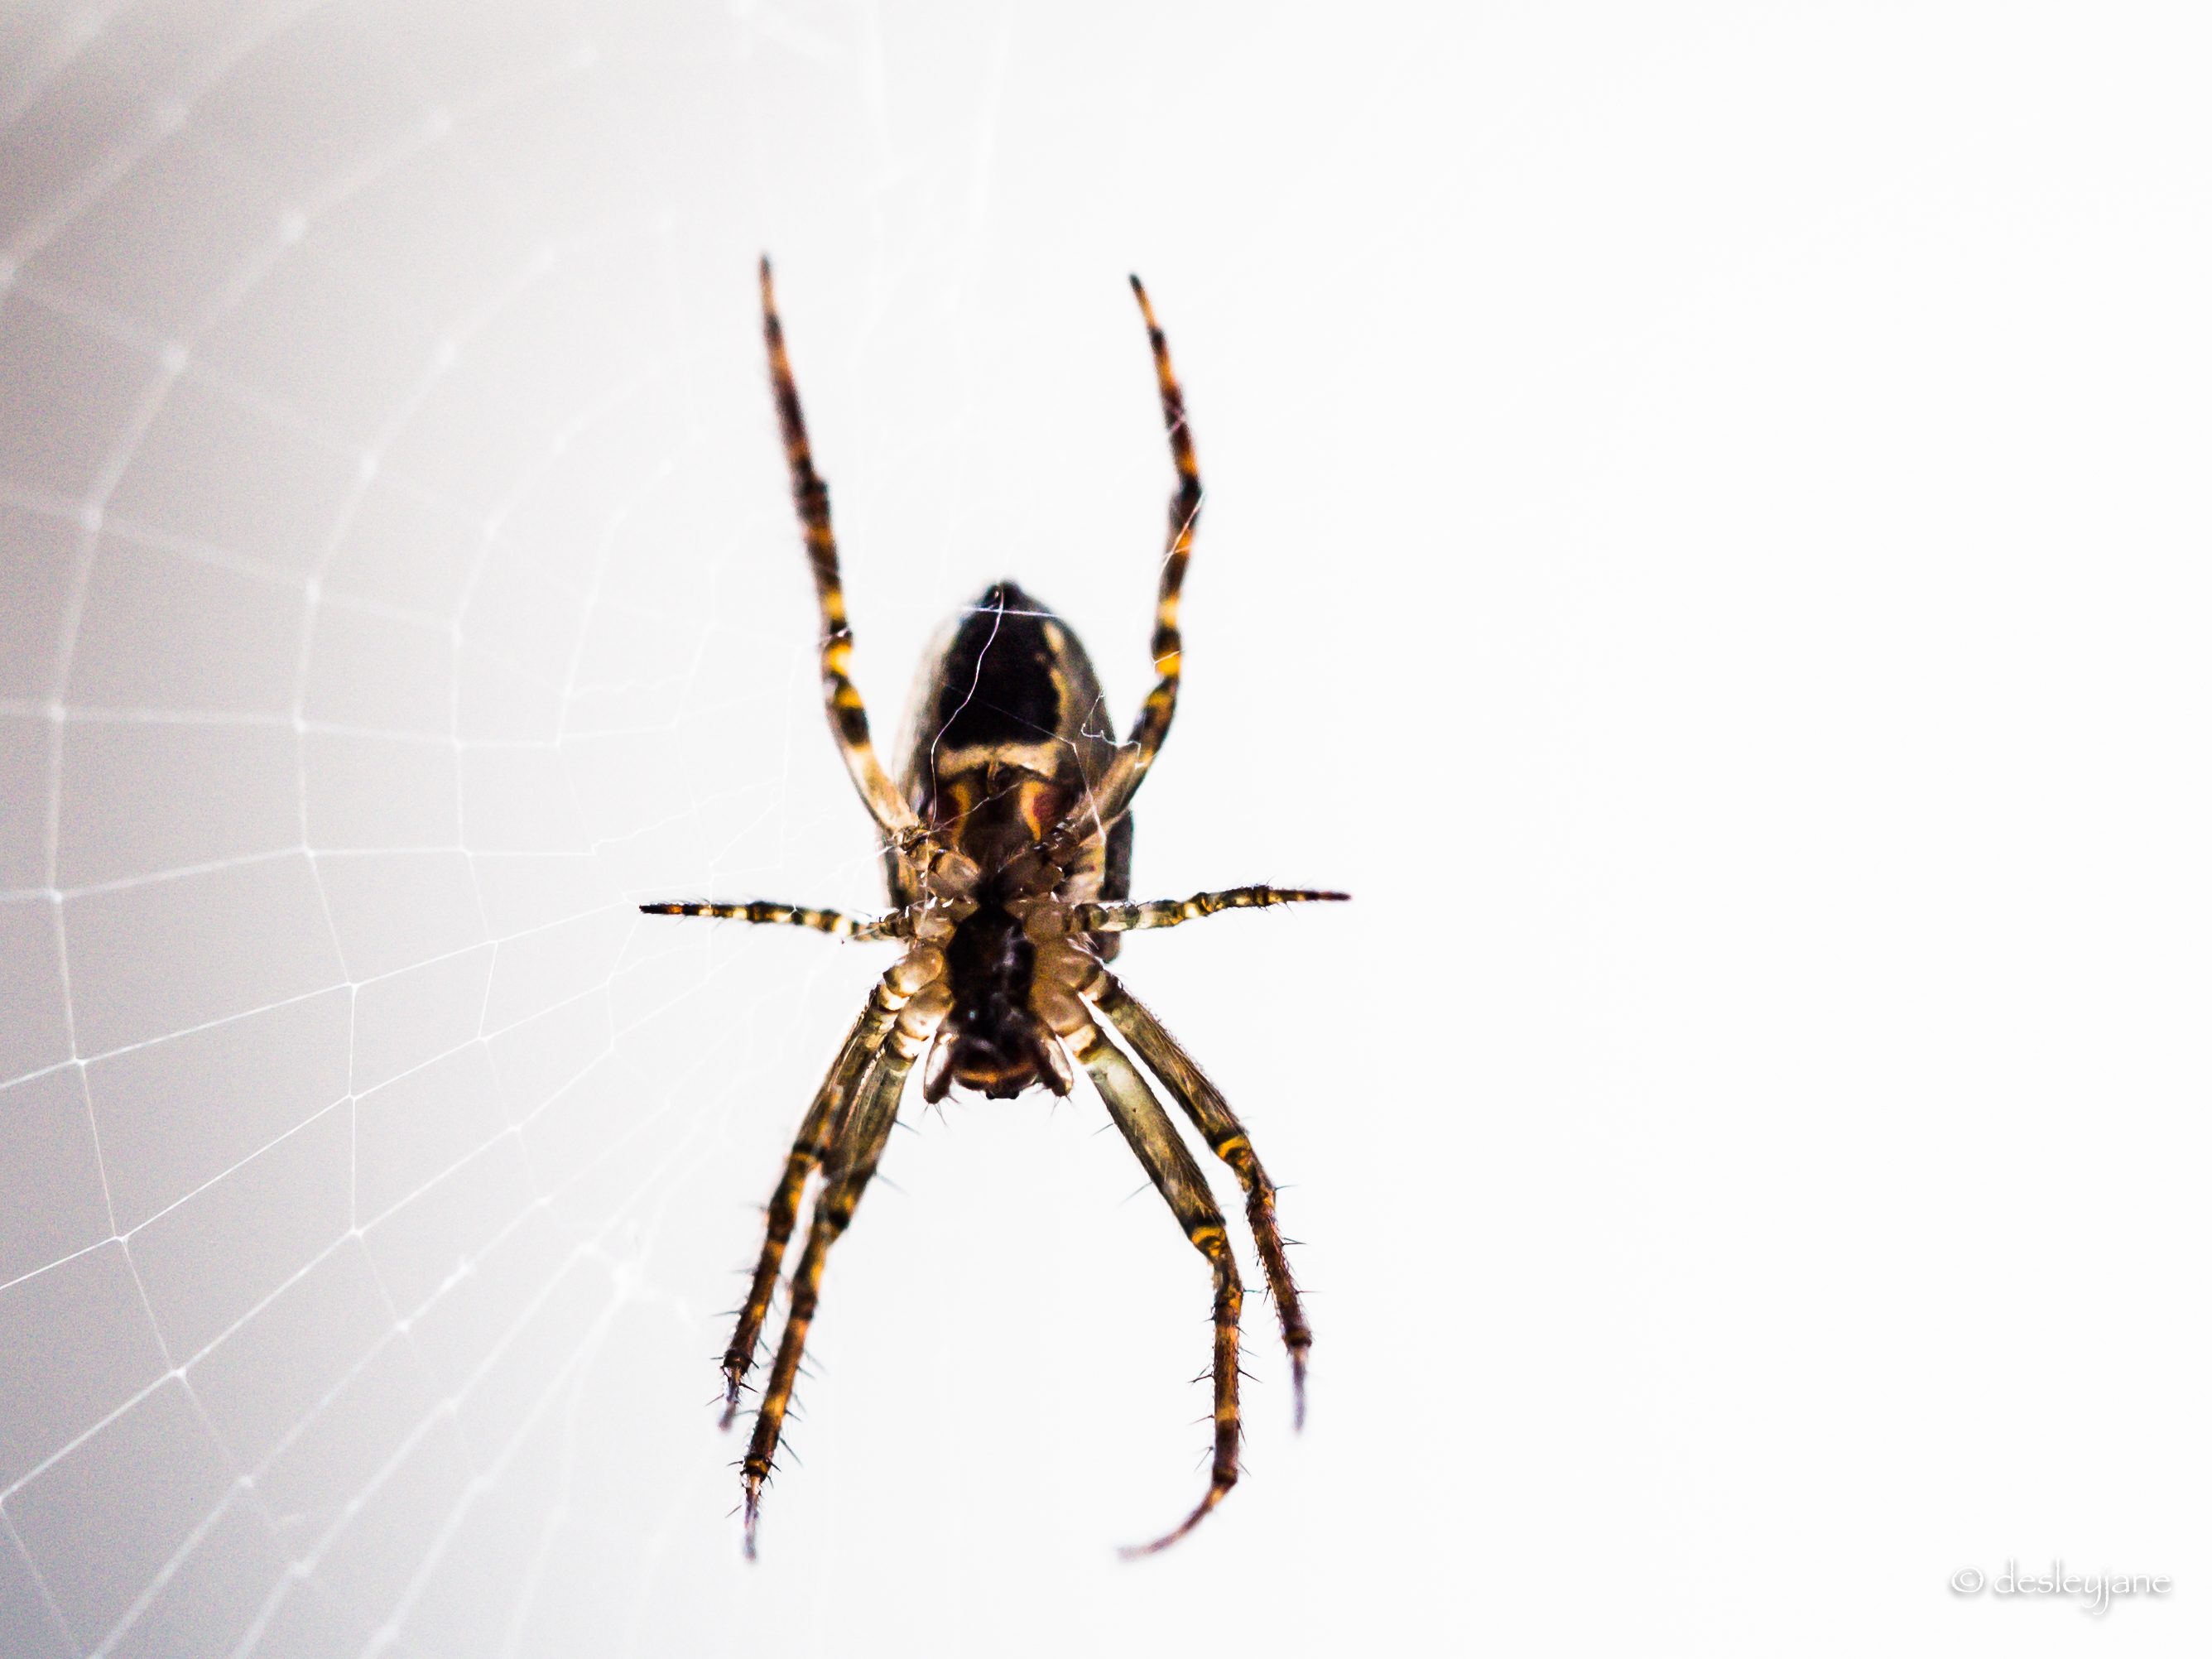
- Check your background. If your background is quite variable, it can be distracting to the shot, so it can be useful to check how the photo will look in your viewfinder or on your screen and then move your camera around until you find a spot with a less cluttered background. In my spider shot above, I moved so that the backing of the curtains on my sliding door to my office was the background for the image. You can also use a piece of cardstock behind the image to give a more consistent background – just prop it up behind the subject or have someone hold it to remove any distractions.


These are just a few tips for macro photography from me, the amateur who loves macro 😉 If you have any questions, please feel free to get in touch. If I don’t know the answer, I will research it and let you know what I find out. If you prefer to email me, please do so at desleyp@gmail.com
Please let me know if you try any of these tips or if you find this type of post helpful as I would like to do more of these if they are useful.
Happy shooting!
x desleyjane

I’d love to hear from you!