So today I’m starting my new regular feature – Scientific Reasoning. You can read my reasoning behind starting this feature here.
Today I am going to show you a science experiment that you can try at home – with your children or on your own. It’s fun, but also takes a while to run through, probably overnight, but it’s interesting, I promise! Or, you can just see the experiment through my camera – I had so much fun doing this, especially the cool second experiment at the end of this post 🙂
A little bit of background – Like us, plants need water and nutrients to stay alive and grow. How does that water and those nutrients get into the plant? The answer is “xylem” (transports water) and “phloem” (transports nutrients made by the plant). Today, we’re dealing with xylem.
The xylem are the series of tubes and cells that make up the water transport system. Water is absorbed through the roots, but then the water has to get up to the leaves! The xylem cells are connected end-to-end so that the water can travel up the stem to the leaves. When you cut down a tree and you see the rings in the stump, you are seeing the dried up xylem tissue – one ring for each year of the tree’s life.
Today we’re going to demonstrate this so that you can see the xylem in the plant.
What will you need?
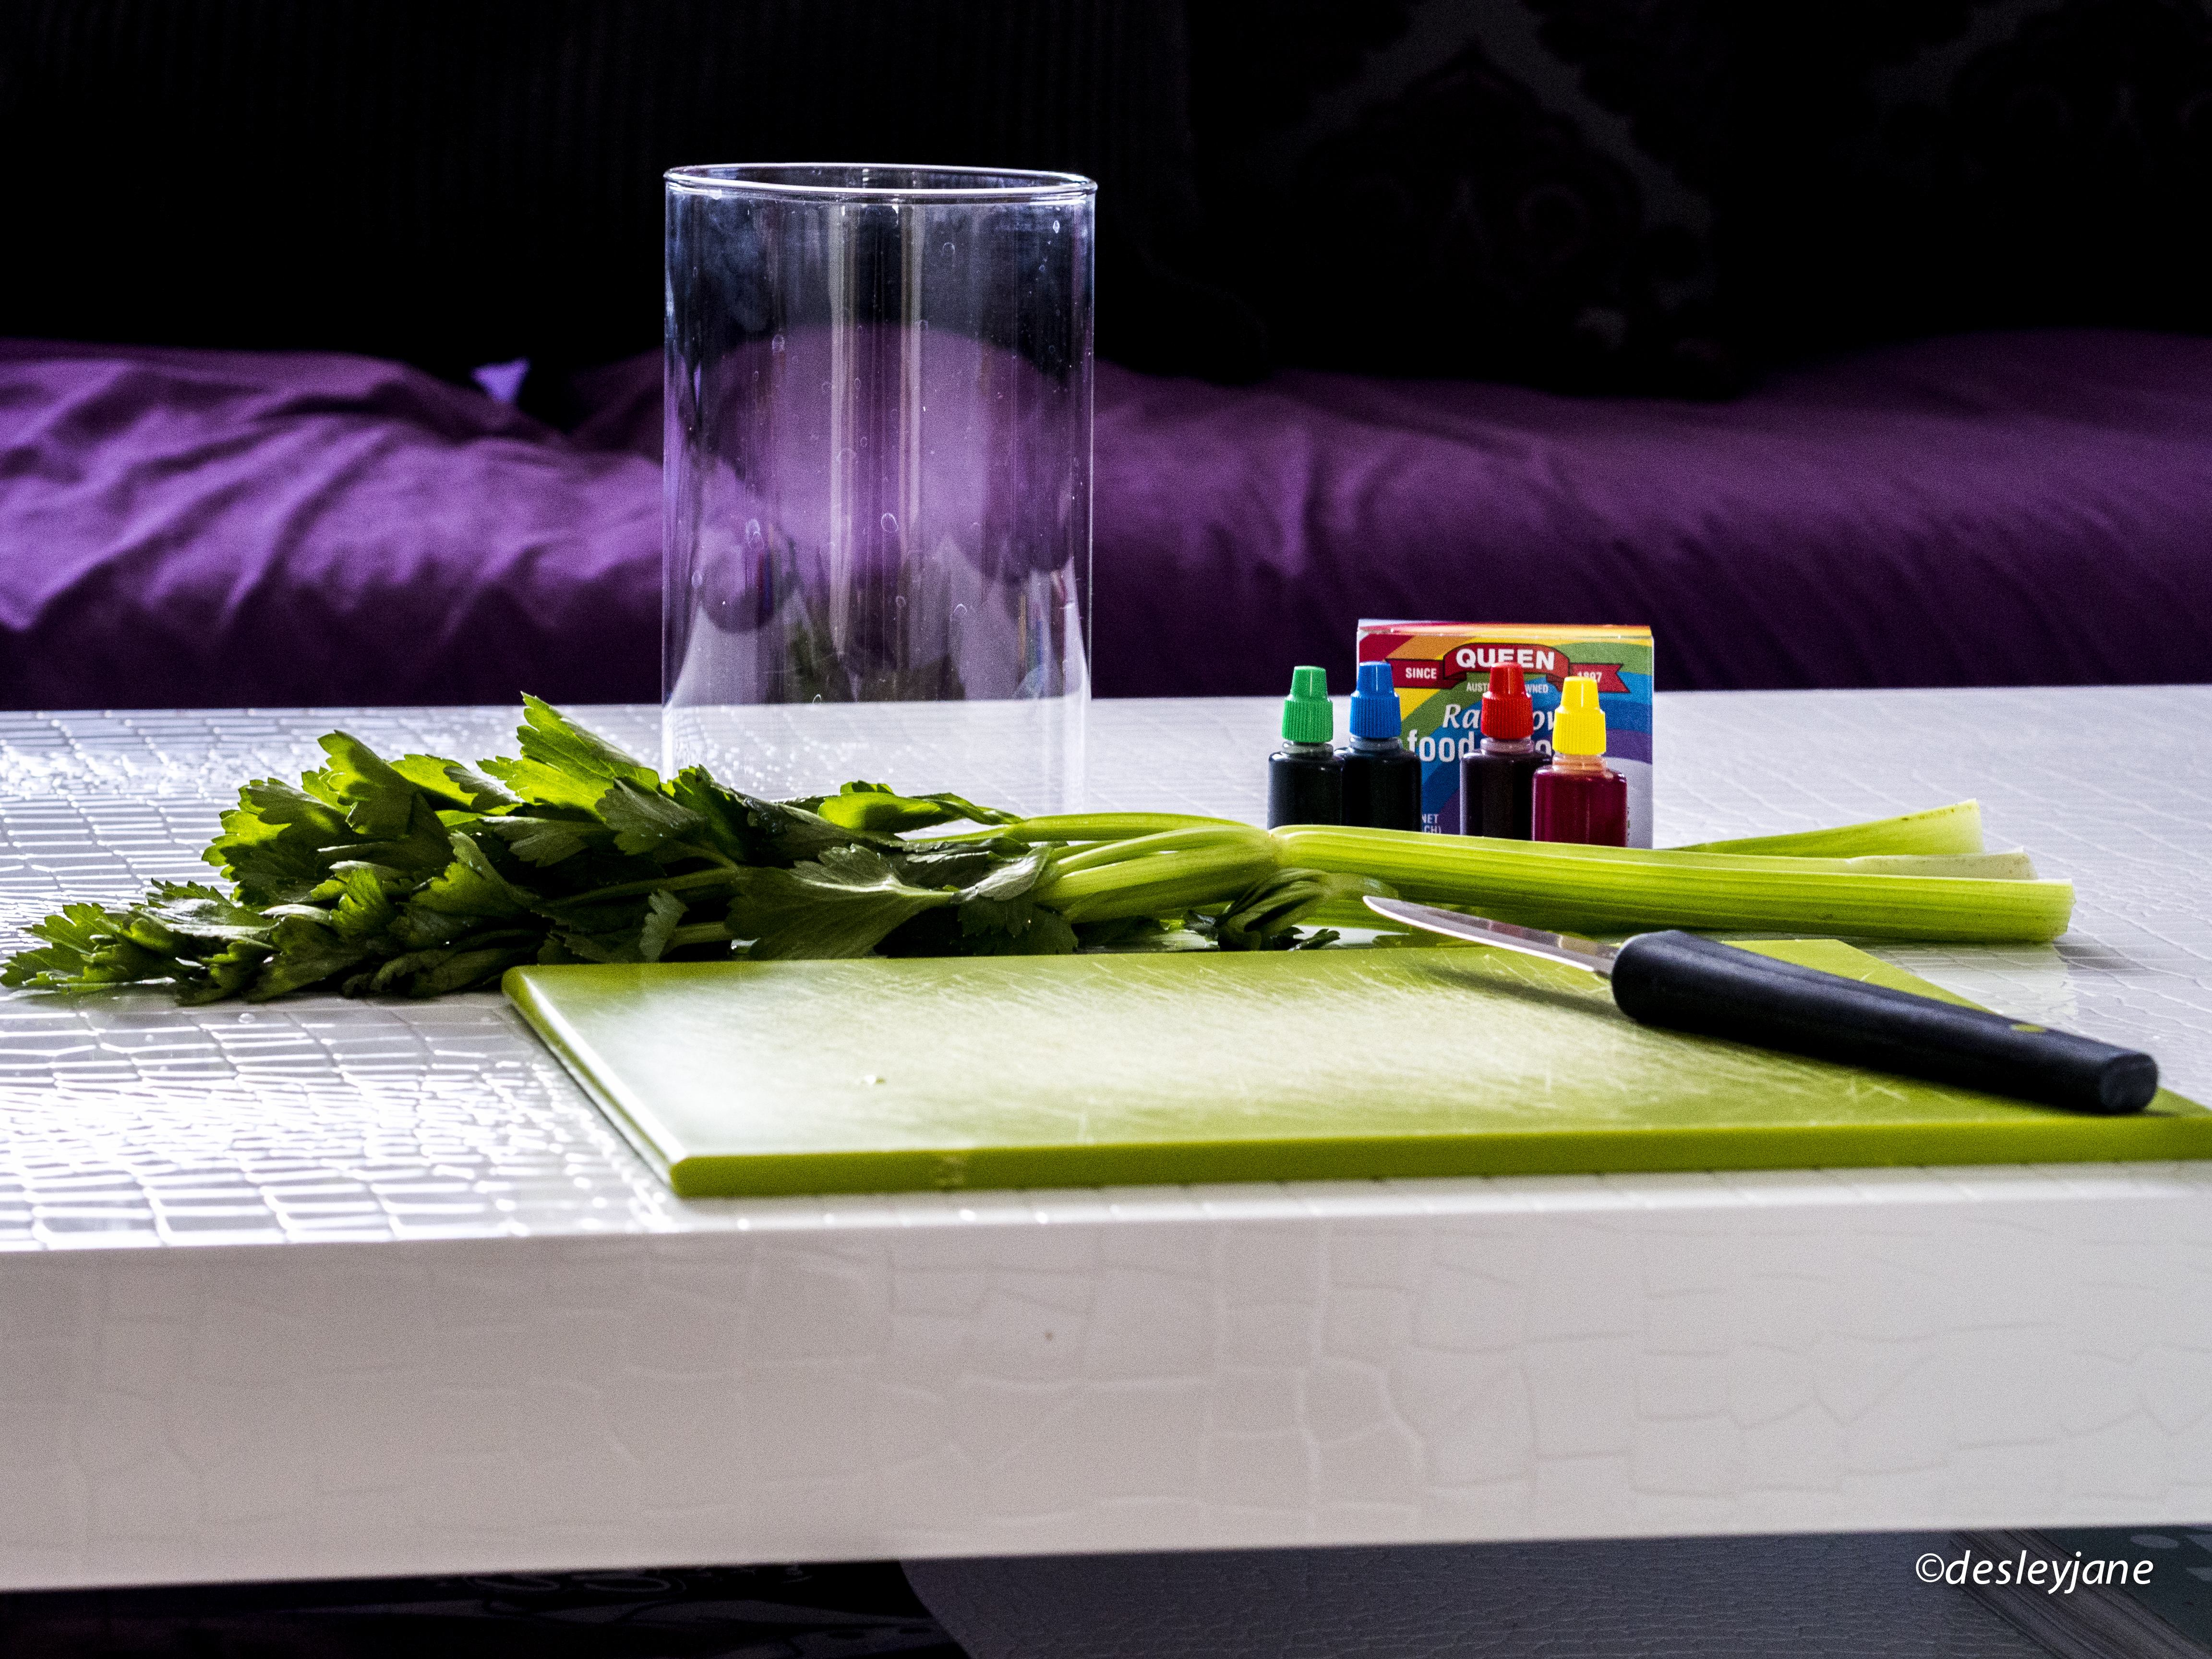
- glass jar or vase
- water
- food colouring
- celery
- knife
- cutting board
- paper towel
What will you do?
- Fill the glass jar or vase about 2/3 with water.
- Add some food colouring – blue or red is probably best, something quite different to the green of the plant.
- Clean your celery and cut about 3cm from the bottom using the knife and cutting board.
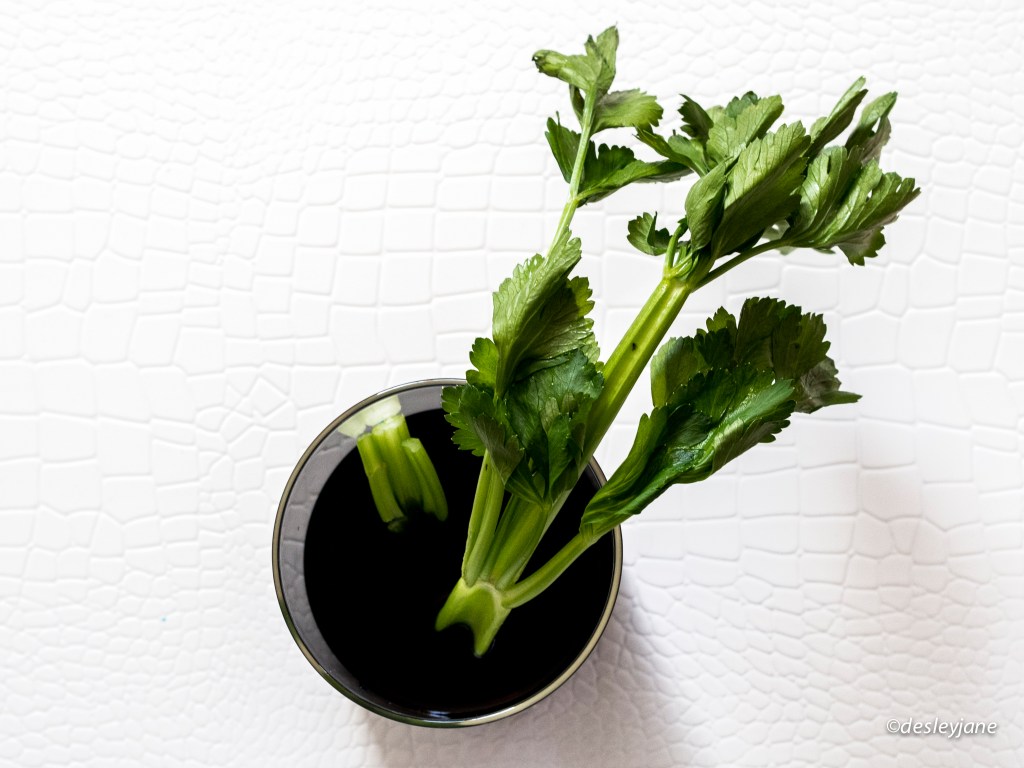
- Place the celery in the coloured water and wait!
- If the colouring is dark enough, you should see the colouring at the leaves.
- Once completed, remove the celery from the water and pat dry with paper towel.
- Look at the bottom of the celery – you will see tiny coloured dots which are at the bottom of the “tubes” or “xylem”.
- You can also cut the celery and see the blue dots higher up the stem as well.


Another experiment?
- You can use most plants, but a very cool one to use is a carnation.
- Everything is done the same way, but using a carnation instead of celery.
- Over time (about 24 hours), the white petals of the carnation will change colour as the coloured water travels up the xylem to the top of the plant and into the petals.
I posted some black and white images of these coloured carnations some time ago, but here are the coloured versions. It was very hot here in Brisbane when I did this experiment, so the cut flowers did not last very long, they have started to curl up over time.
")

")


")


I like this one, I think I am probably biased because photographing these flowers was so much fun and I love the result. It is something that you can set up and leave and check on it each day. I know some people have their children draw the experiment and predict what will happen by colouring in the petals.
I hope you enjoy it.
x desleyjane
Safety Considerations.
- The stems should be cut with a sharp knife to avoid damaging the xylem, so it’s a good idea if an adult does that part.

I’d love to hear from you!